rough pump rebuild tips
Posted: Tue May 29, 2012 4:52 pm
Hello,
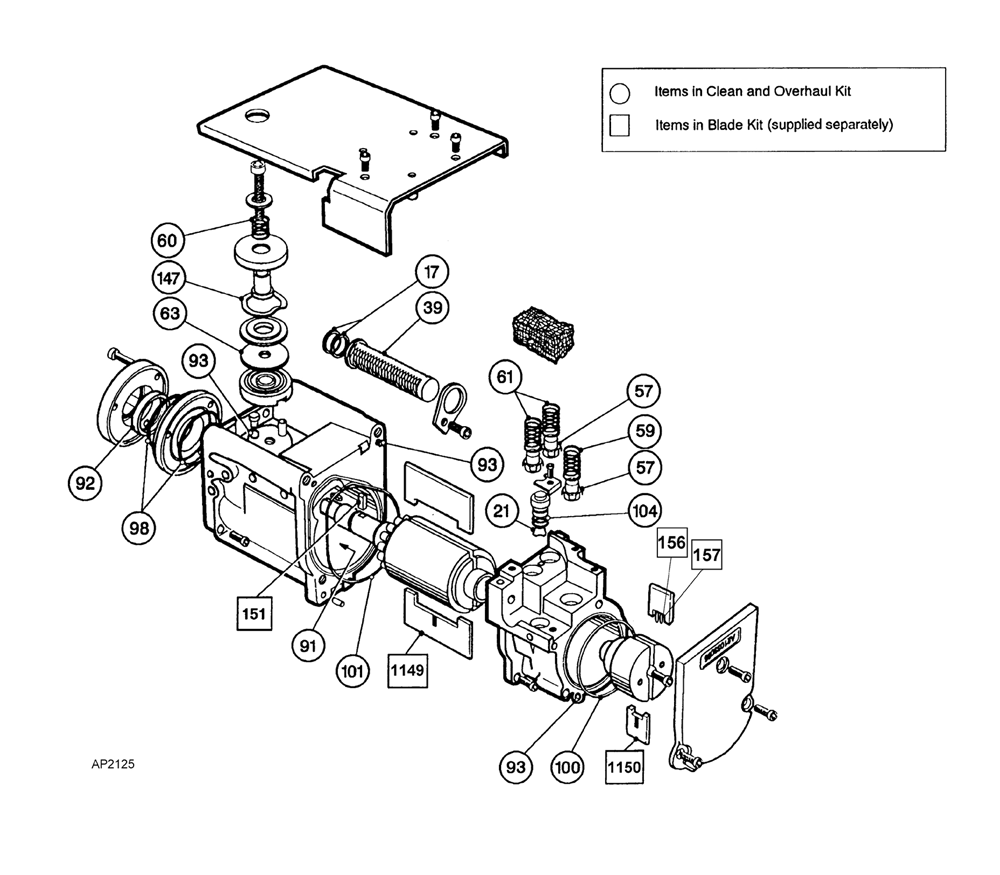
I know this is slightly off-topic but anyone doing MS must deal with rough pumps (you know, those noisy things under the bench that leak oil and we can't live with/out!) so here goes: we have a high-school student visiting our lab for the summer and due to h&s restrictions he can't touch most of our routine lab work, fair enough, so I thought maybe rebuilding an Edwards E2M30 might be a fun project for him. I've bought a repair kit (with vanes) and I have exploded diagrams and all that, but I was looking for some general advice on how to start & go about rebuilding a rough pump. We're all pretty handy in the lab, but no one has done this before. Advice, anyone?
thanks, as always, Helen